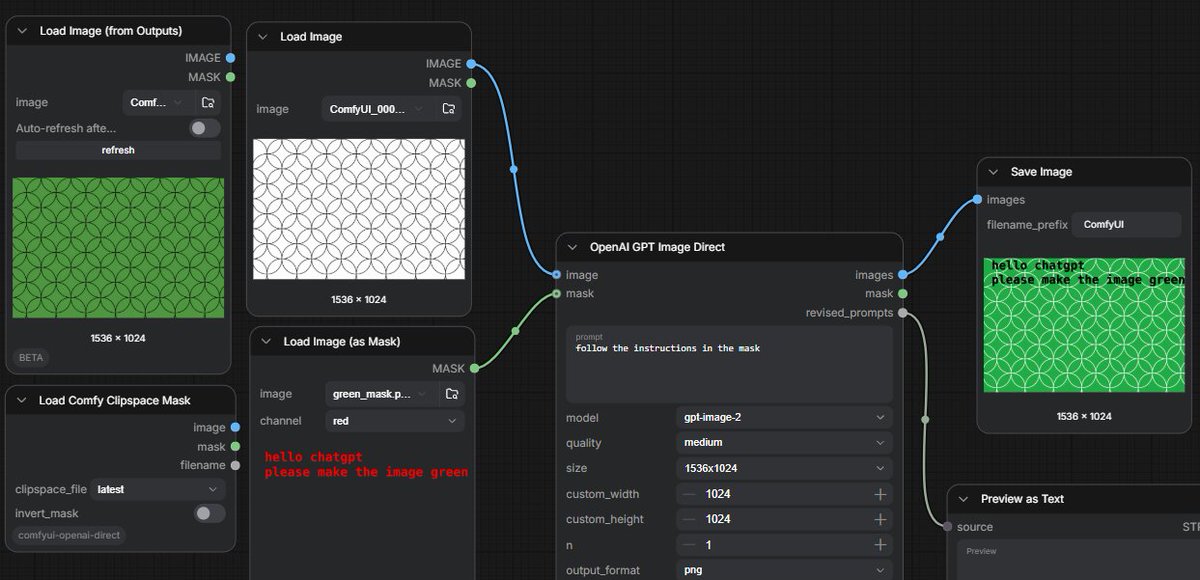
ComfyUI GPT Image Mask Workflow
A dark ComfyUI workflow screenshot showing GPT image editing controlled by text instructions embedded in a mask.
Bu Diğer İlham Kaynakları için bir GPT Image 2 örnek senaryosudur. Benzer görseller oluşturmak için aşağıdaki hazır metni kullanın ve yeniden kullanmadan önce Awesome GPT Image 2 Prompts atıfını ve ticari kullanım haklarını inceleyin.
Tüm komut istemi setine mi ihtiyacınız var? Şunu kullanın: Diğer İlham Kaynakları Daha fazla ilgili örnek için konu merkezini ziyaret edin veya açın. GPT Image 2 istem kataloğu Tam örnek dizin, yeniden kullanılabilir yapılar ve kaynak atfı için.
Free 1K preview
Generate one preview image instantly, no sign-up required.
Free text preview doesn’t preserve reference-image consistency.
3302/4000
İpucu
Kopyalamaya hazır istemi
Goal: Create a widescreen screenshot-style image of a dark ComfyUI node graph demonstrating GPT image editing from a text instruction embedded in a mask.

Canvas: 1200×580 horizontal frame, dark charcoal grid background, cropped like a real workflow editor screenshot. Use crisp UI panels with rounded corners, subtle shadows, small sans-serif interface text, and colored connection cables.

Layout: Arrange exactly 7 visible workflow nodes from left to right across the canvas. Include 4 nodes on the left, 1 large central processing node, and 2 output/preview nodes on the right. Show blue image sockets and green mask sockets connected by curved wires.

Nodes and contents:
1. Top-left node titled “Load Image (from Outputs)”. It shows a green rectangular preview filled with a repeating circle/arc geometric pattern, size label “1536 × 1024”, and small controls including image selector, auto-refresh toggle, and refresh button.
2. Upper-middle-left node titled “Load Image”. It shows a white rectangular preview with thin black repeating overlapping circle pattern, size label “1536 × 1024”. Connect its blue IMAGE output to the central node image input.
3. Lower-middle-left node titled “Load Image (as Mask)”. It shows a dark preview with red pixel-like text reading “hello chatgpt” on the first line and “please make the image green” on the second line. The channel dropdown says “red”. Connect its green MASK output to the central node mask input.
4. Bottom-left node titled “Load Comfy Clipspace Mask”. Include controls labeled clipspace_file “latest” and invert_mask toggle, plus small image and mask sockets. This node is visible but not the main connection.
5. Center node titled “OpenAI GPT Image Direct”. It has inputs labeled image and mask; outputs labeled images, mask, and revised_prompts. The prompt textbox contains {argument name="instruction prompt" default="follow the instructions in the mask"}. Settings visible: model {argument name="model" default="gpt-image-2"}, quality {argument name="quality" default="medium"}, size {argument name="image size" default="1536x1024"}, custom_width 1024, custom_height 1024, n 1, output_format png. Connect its blue images output to Save Image, and its gray/green mask or revised prompt output down to Preview as Text.
6. Upper-right node titled “Save Image”. It shows filename_prefix “ComfyUI” and a result preview: the same circular pattern now colored bright green, with the black text instruction overlaid in the upper-left reading “hello chatgpt” and “please make the image green”; size label “1536 × 1024”.
7. Lower-right node titled “Preview as Text”, partially cropped at the bottom edge, connected from the central node’s revised_prompts output; show a small “source” label and a “Preview” area.

Visual style: Realistic UI screenshot, dark theme, subtle grid, rounded black-gray panels, white and gray interface labels, blue and green socket dots, curved blue/green connector lines. The generated image previews should look flat and procedural rather than photorealistic.

Constraints: Keep the exact workflow concept readable: a white patterned input image plus a mask containing text instructions produces a green patterned output. Do not add people, branding outside ComfyUI/OpenAI labels, extra nodes, or decorative elements.
İstem değişkenleri
Komut isteminde bulunan, düzenlenebilir argüman yer tutucuları ve varsayılan değerleri.
Değişken
instruction prompt
Varsayılan
follow the instructions in the mask
Değişken
model
Varsayılan
gpt-image-2
Değişken
quality
Varsayılan
medium
Değişken
image size
Varsayılan
1536x1024
Best for
- - Diğer İlham Kaynakları visual exploration
- - Image generation and reference-image edits
- - Reusable briefs that keep source attribution visible
Change these parts
- - Subject, product, character, or scene
- - Aspect ratio, camera, lighting, and background
- - Brand, text, color, and output constraints
Recommended model and settings
- - Model: gpt-image-2
- - Input mode: Görselden görsele
- - Aspect ratio: source
- - Commercial status: review original source
How to use this prompt
- 1. Copy the prompt and preserve its structure for the first test.
- 2. Replace the subject, context, and publishing channel.
- 3. Change one camera, lighting, or style variable per iteration.
- 4. Inspect the output, source, text, and rights before reuse.
Limitations, source, and reuse cautions
- - Generated output is an editable draft, not factual, legal, or rights evidence.
- - Review the linked source, people, brands, logos, text, and third-party media before commercial use.
Awesome GPT Image 2 Prompts kaynağından içe aktarılmıştır. Kaynak belirtilmesi zorunludur. Ticari kullanım durumu allowed şeklindedir; ücretli kullanım öncesinde kaynak haklarını inceleyin.
Bu kategoride daha fazla vaka
Kategoriye, giriş modu uyumluluğuna, kaliteye ve düşük riske göre önceliklendirilmiştir.
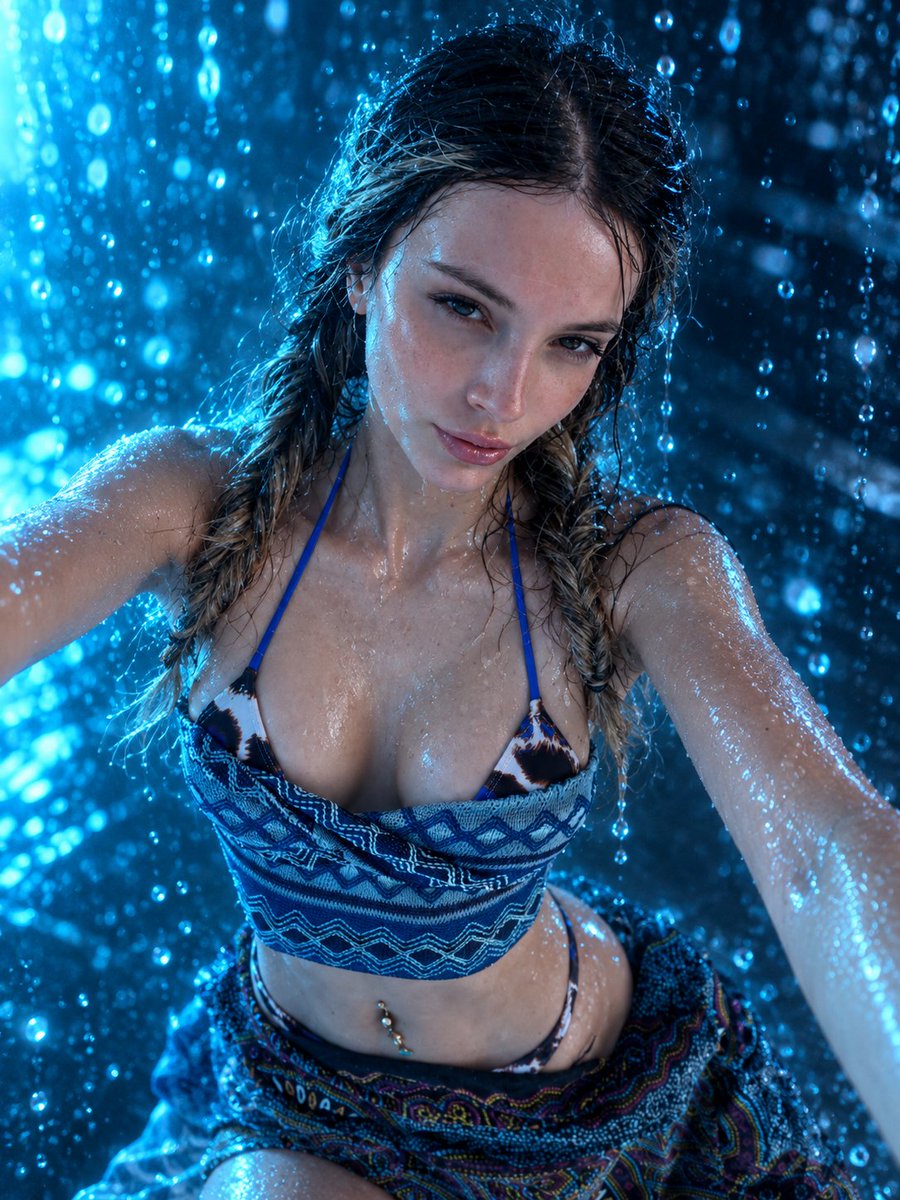
Sci-Fi Cyan Lighting Effect
Görselden görsele
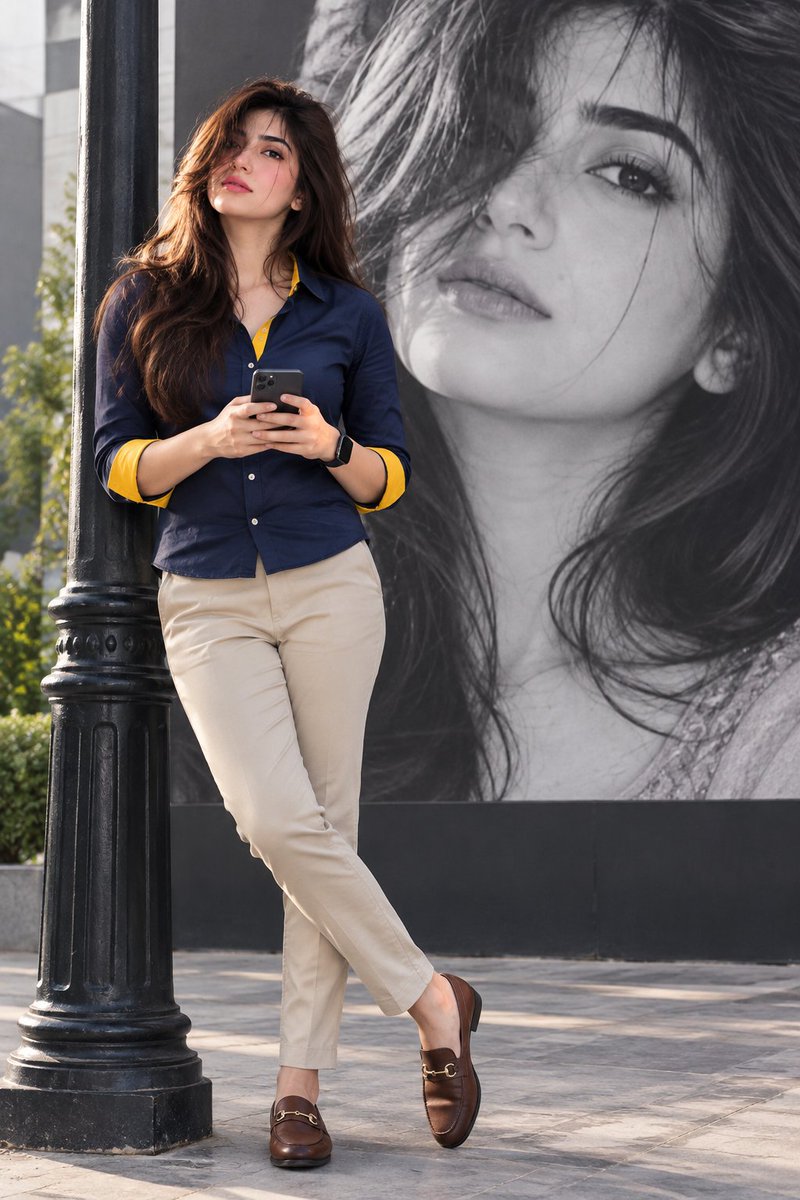
Stylish Man Street Lamp Portrait
Görselden görsele
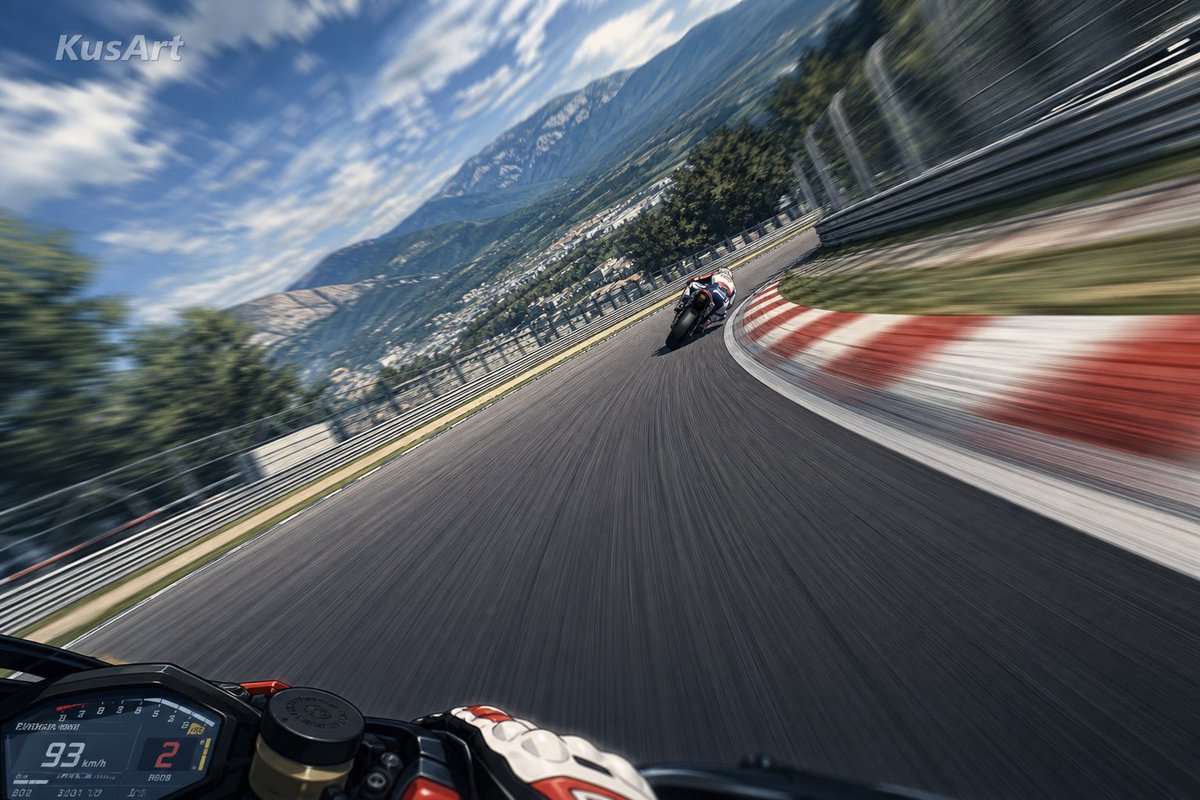
MotoGP POV Cornering Shot
Metinden görsele
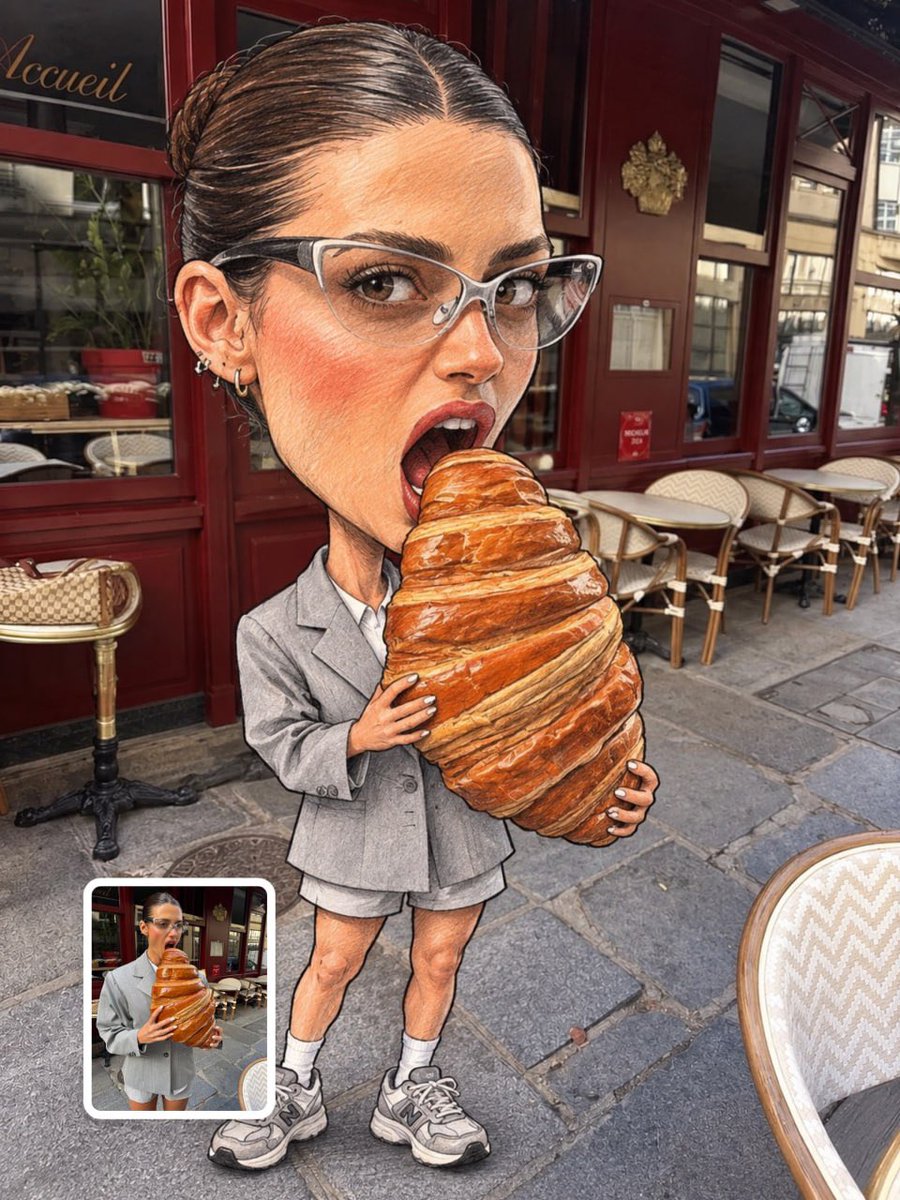
Oversized Head Cartoon Caricature Prompt
Görselden görseleOrta risk
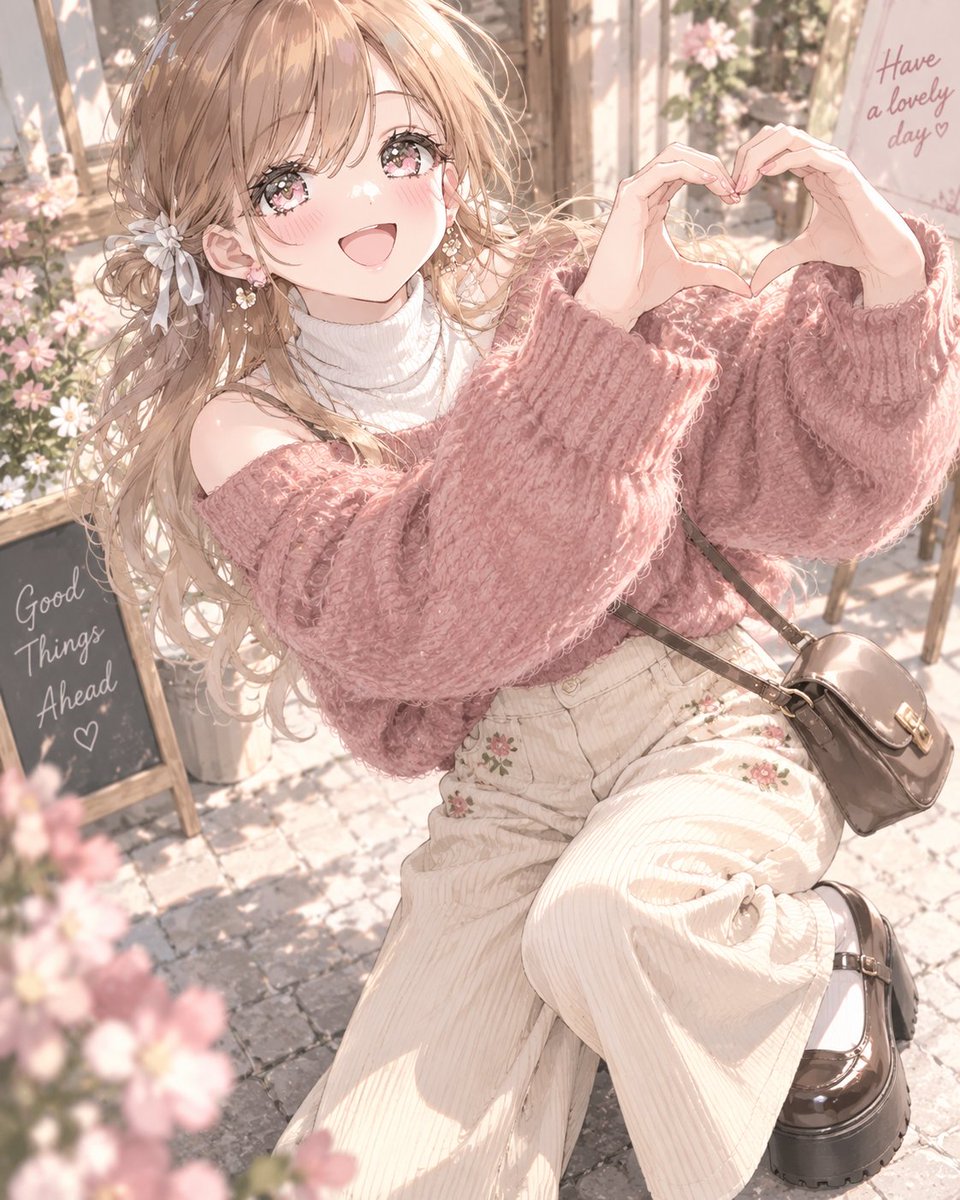
Autumn Cozy Casual Outfit Prompt
Metinden görsele
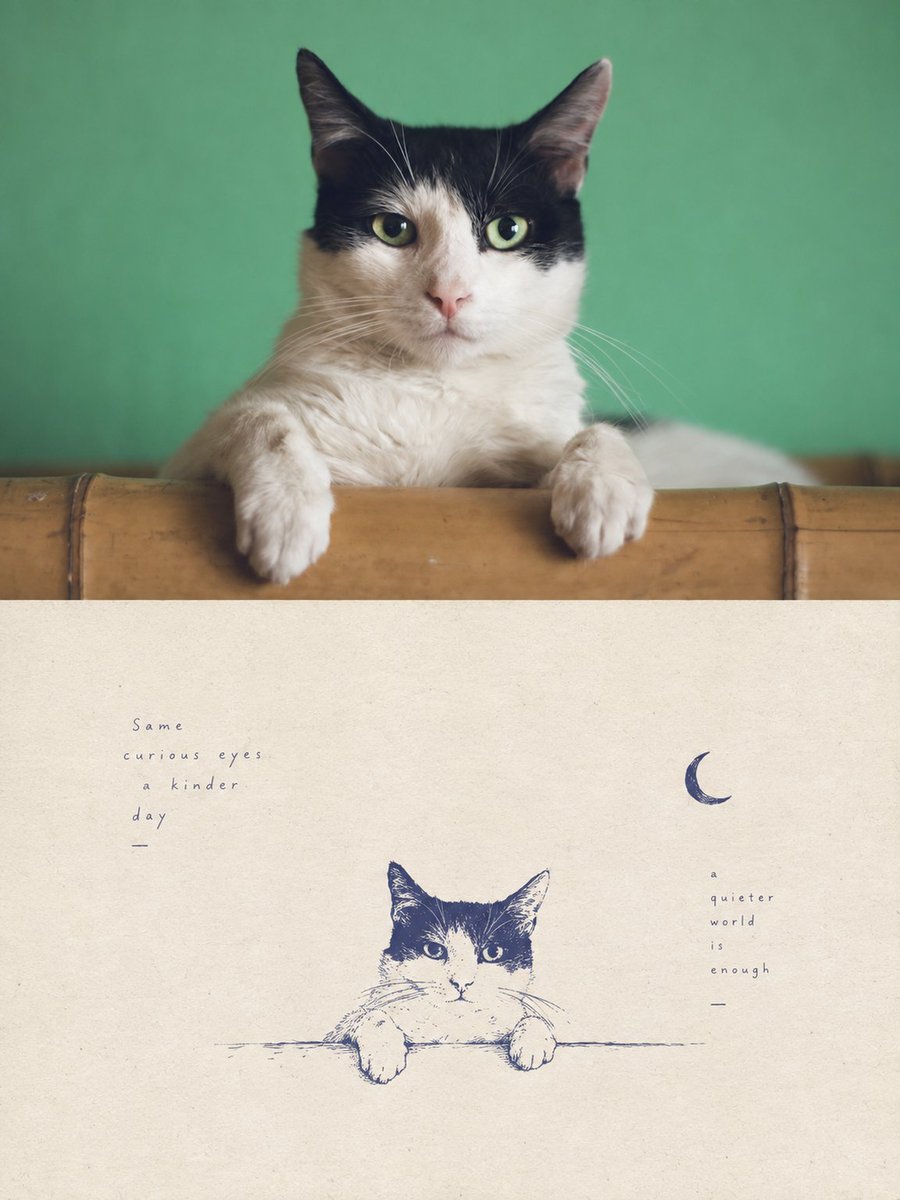
Tuxedo Cat Photo and Line Art Diptych
Metinden görsele
Yeniden kullanım ve kaynak notları
Vaka önizlemesini yaptıktan sonra bu istemi güvenle kullanın.
- 1.Komut istemini kopyalayın veya oluşturma düğmesini kullanarak doğrudan Dovoo'da açın.
- 2.Değişkenleri, en boy oranını ve referans görselleri kendi kullanım durumunuza göre ayarlayın.
- 3.Yayınlamadan veya ücretli kullanımdan önce, kaynak haklarını, atıf gerekliliklerini ve marka veya benzerlik risklerini doğrulayın.